

We love to hear from you !
Product details Parameters
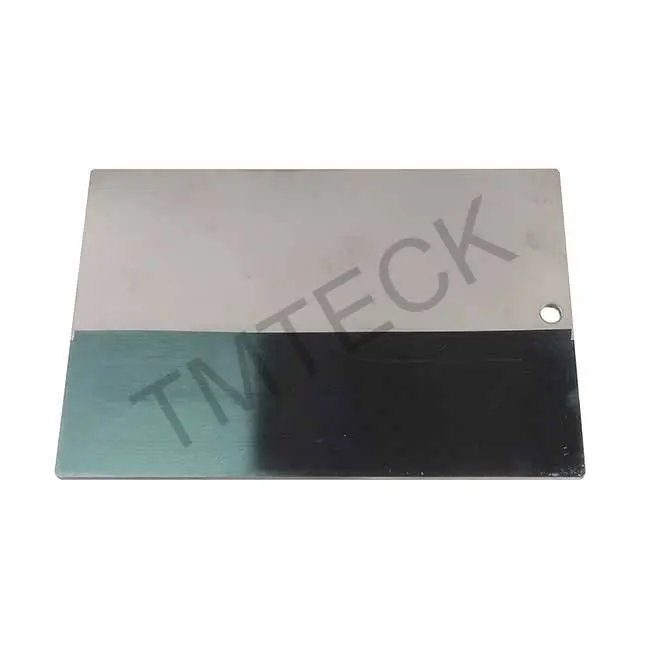
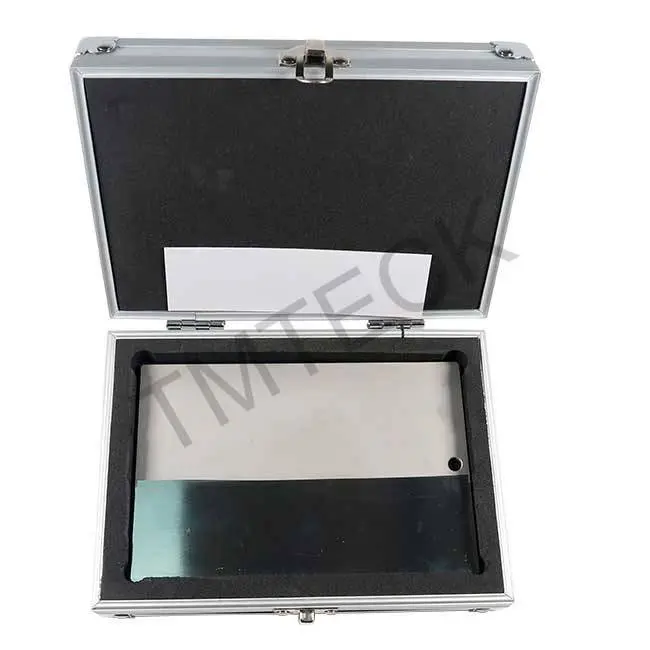
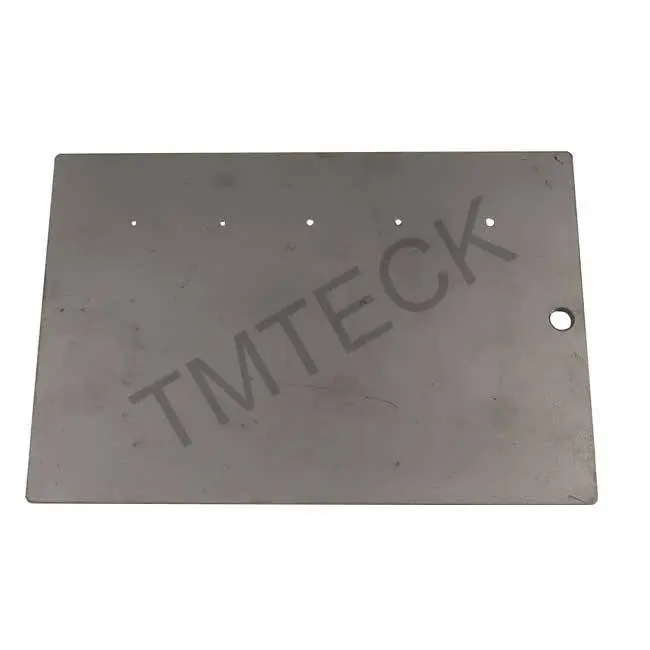
Penetrant testing test specimen
Model:TM-B3
All linear dimensions to the requirements of AS2083/2005, BS2704/1978/1983, where applicable. Heat treatment to the requirements of GB/T6394/2002. where practicable tolerances to (+/-0.1mm) unless otherwise stated. Treated to 920 degrees C for 30 minutes, water quenched, 650 degrees C for 3 hours, air cooled
Material standard:according to ISO 10474-3.1.B,JIS G 0415-3.1.B
Depth:100?m
Width target value:0.5?m
Test standard:ISO 3452-3:1998(E),JB/T6064
Model:TM-A5
All linear dimensions to the requirements of AS2083/2005, BS2704/1978/1983, where applicable. Heat treatment to the requirements of GB/T6394/2002. where practicable tolerances to (+/-0.1mm) unless otherwise stated. Treated to 920 degrees C for 30 minutes, water quenched, 650 degrees C for 3 hours, air cooled
Material standard:according to ISO 10474-3.1.B,JIS G 0415-3.1.B
Depth:100?m
Width target value:0.5?m
Test standard:ISO 3452-3:1998(E),JB/T6064
Model:TM-D
All linear dimensions to the requirements of AS2083/2005, BS2704/1978/1983, where applicable. Heat treatment to the requirements of GB/T6394/2002. where practicable tolerances to (+/-0.1mm) unless otherwise stated. Treated to 920 degrees C for 30 minutes, water quenched, 650 degrees C for 3 hours, air cooled
Material standard:according to ISO 10474-3.1.B,JIS G 0415-3.1.B
Depth:150?m
Width target value:0.5?m,1.0μ and 1.5μ
Test standard:ISO 3452-3:1998(E),JB/T6064
Model:TM-AB
Through the physical and chemical test type A block material for LY12 aluminum alloy for materials, the chemical components conform to the provisions of ASTM,GB/T3190
By means of a micrometer measurement block length is 76 + 0.1 ㎜, and the width fifty + / – 0.1 ㎜, thick and ± 1 ㎜. Cut along the length center evenly divided into two pieces, and in block A and B and unity Numbers, block length orientation and plate rolling direction. Milling, grinding the surface roughness after treatment for Ra = 1.2 u m – 2.5 u m.
Color: Visual its color is silvery white.
Oxidizing property :In -55 ℃ ~ 200 ℃ – store between three years not metamorphism, no oxidation,
Crack: In the same Numbers of the A and B block with dye penetrant inspection method measured random crack 3 μ m, 3 μ m ~ 5 μ m and more than 5 μ m open crack on one side not less than four, and there are two above width is not more than 3 μ m open crack. Block A and B on the surface crack distribution is similar.
ASTME165 standard

Pay attention to TMTeck
Add:#613A, LinJI Industrial Building ,No.53 of Shun Ren Road ,Lin He Industrial park, ShunYi District ,101300 Beijing ,China
Tel:86-010-8944 5181 /86-010-8944 4420
Fax: 86-010-8944 4420
Email: info@tmteck-ndt.com