
We love to hear from you !
Product details Parameters


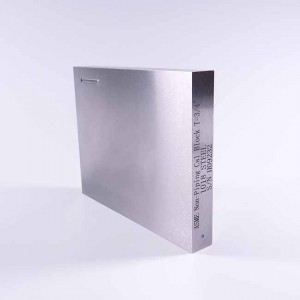
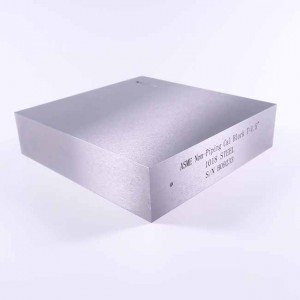
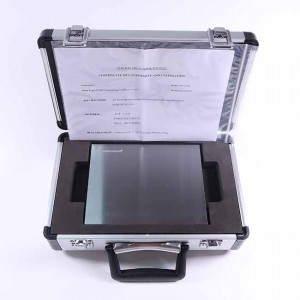
ASME Basic Calibration Block is used for establishment of primary reference responses for UT examination of welds. ASME Basic Calibration Block 1 contains three side-drilled holes at 38mm deep minimum at 2.5mm diameter. the hole locations through the thickness are 1/4, 1/2 and 3/4 T. it also contains 2 EDM notches measuring 2% T deep * 6.4mm max wide * 25 long min. In accordance with ASME Sec V T-434.2.1
| Weld Thickness(mm) | Block Dimension(mm) Thick*Wide*Long | NetWeight | GrossWeight | Packing |
| Up to 25 | 19*150*150 | 3.5 | 4.5 |  |
| Over 25 through 50 | 38*150*200 | 9 | 10 | |
| Over 50 through 100 | 75*150*250 | 23 | 24 | |
| Over 100 | 125*150*381 | 58 | 62 |
All standard blocks can be customized per request!

Pay attention to TMTeck
Add:#613A, LinJI Industrial Building ,No.53 of Shun Ren Road ,Lin He Industrial park, ShunYi District ,101300 Beijing ,China
Tel:86-010-8944 5181 /86-010-8944 4420
Fax: 86-010-8944 4420
Email: info@tmteck-ndt.com